
DIY Kids Closet Makeover (Fabulous Vintage Wardrobe)
I’ve always envisioned a charming, vintage style closet for my daughter.
However, store-bought options either lacked in design, were the wrong size, or were drastically expensive. This led me to consider a DIY kids closet makeover.
Getting Vintage Wardrobe
My opportunity arose when I saw a picture in a Facebook Swap group. Someone was giving away an extraordinary wardrobe. I was certain that I needed to act immediately because hesitation could mean missing it out.
I immediately contacted the owner and informed my husband. He surprisingly agreed to the idea if I managed the transportation. I rushed to find some truck services and everything was arranged by the end of the day.
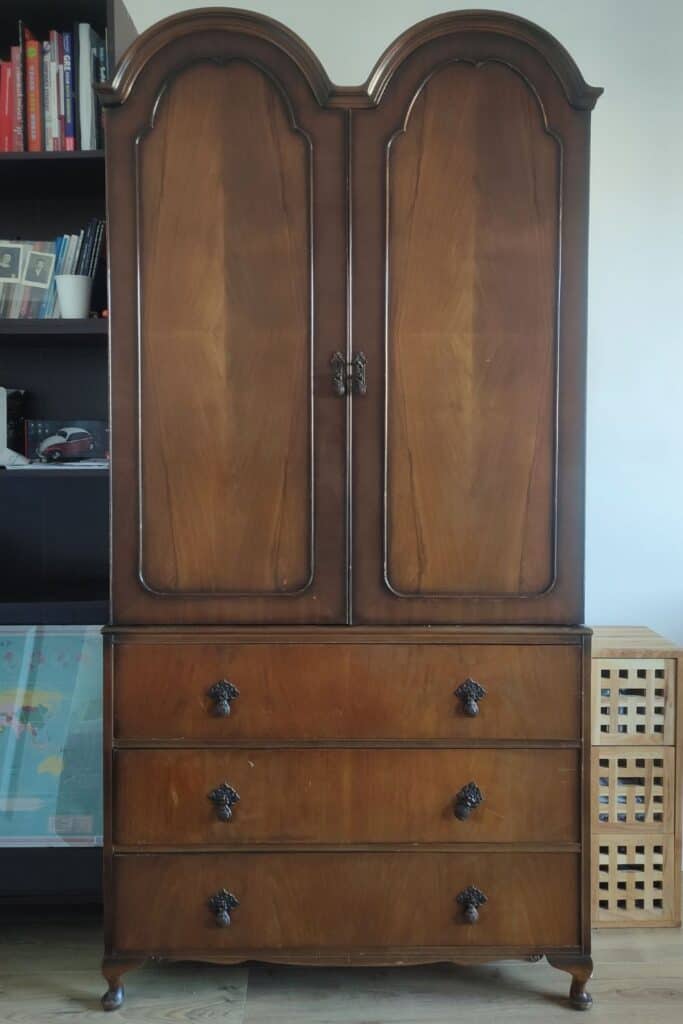
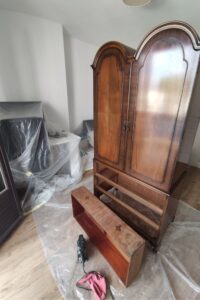
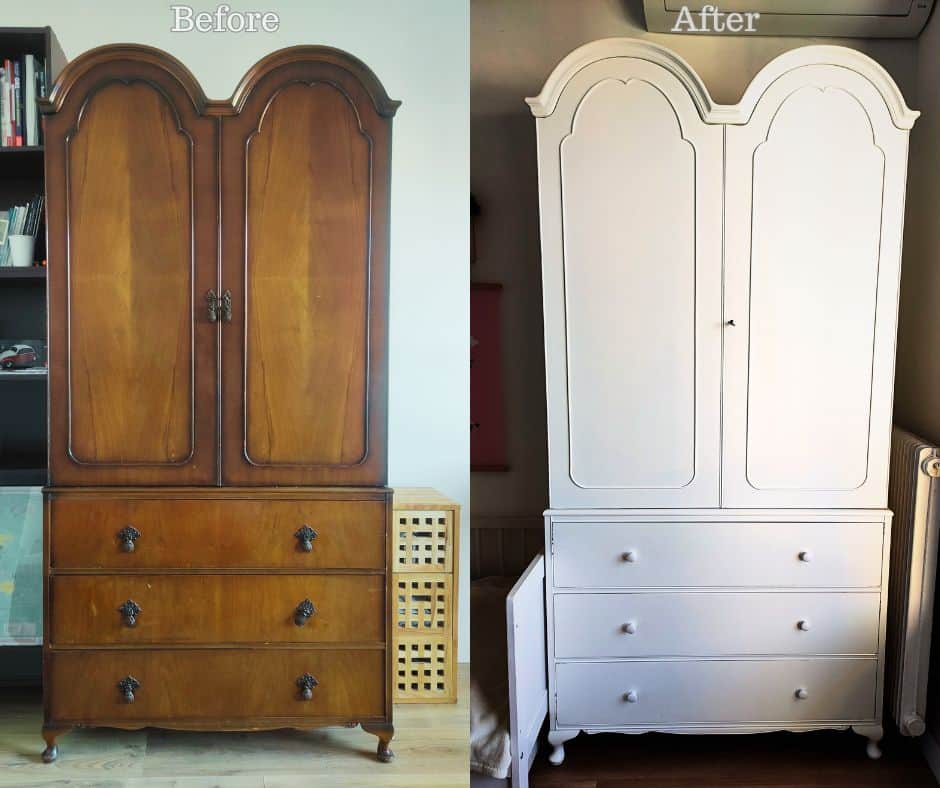
A few days later the truck brought the wardrobe to our apartment. Made in 1950 – 60 by reputable British furniture maker Butilux, it was a charming, Queen Anne style walnut closet. It had a double dome top and short cabriole legs.
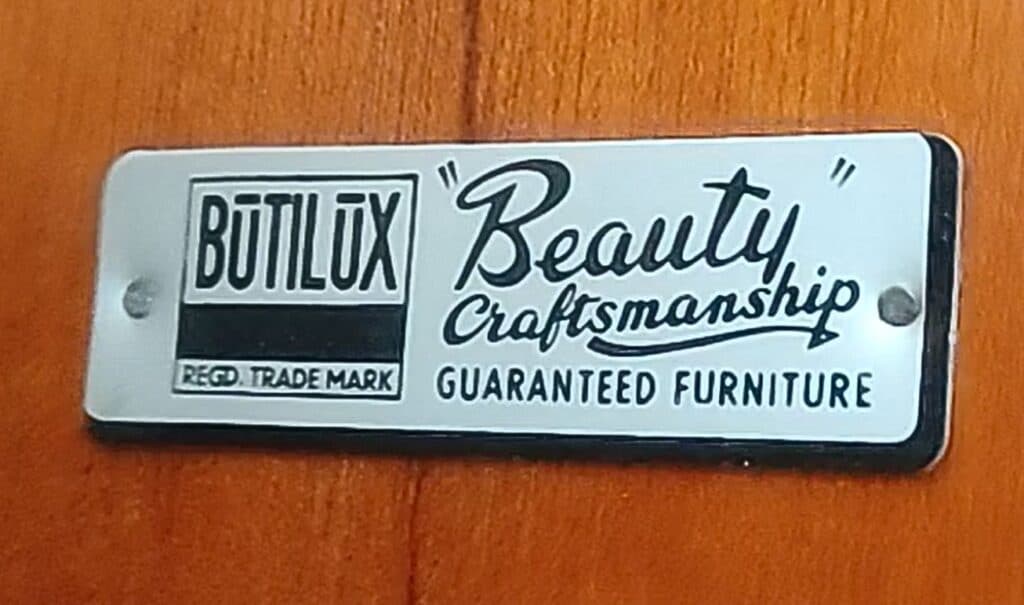
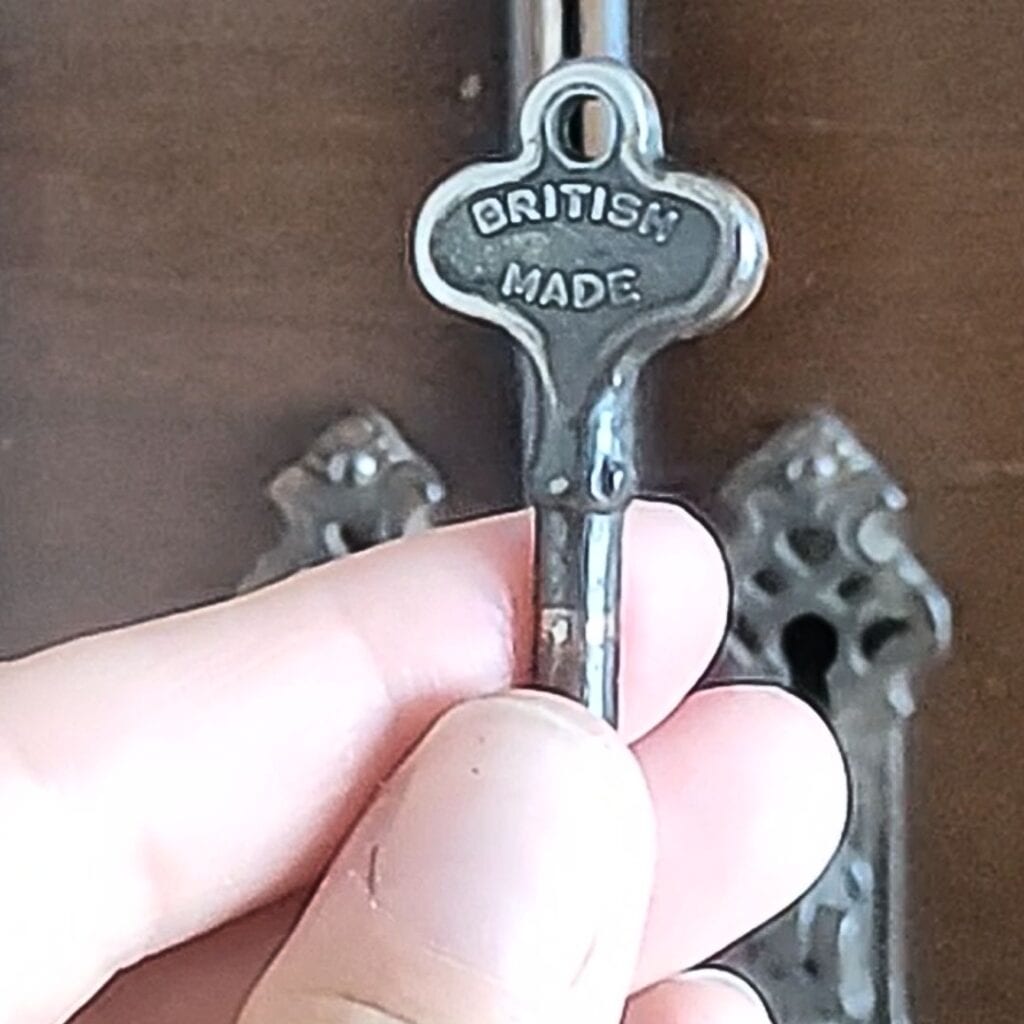
It had a locking key to doors, declaring that the it was made in Britain.
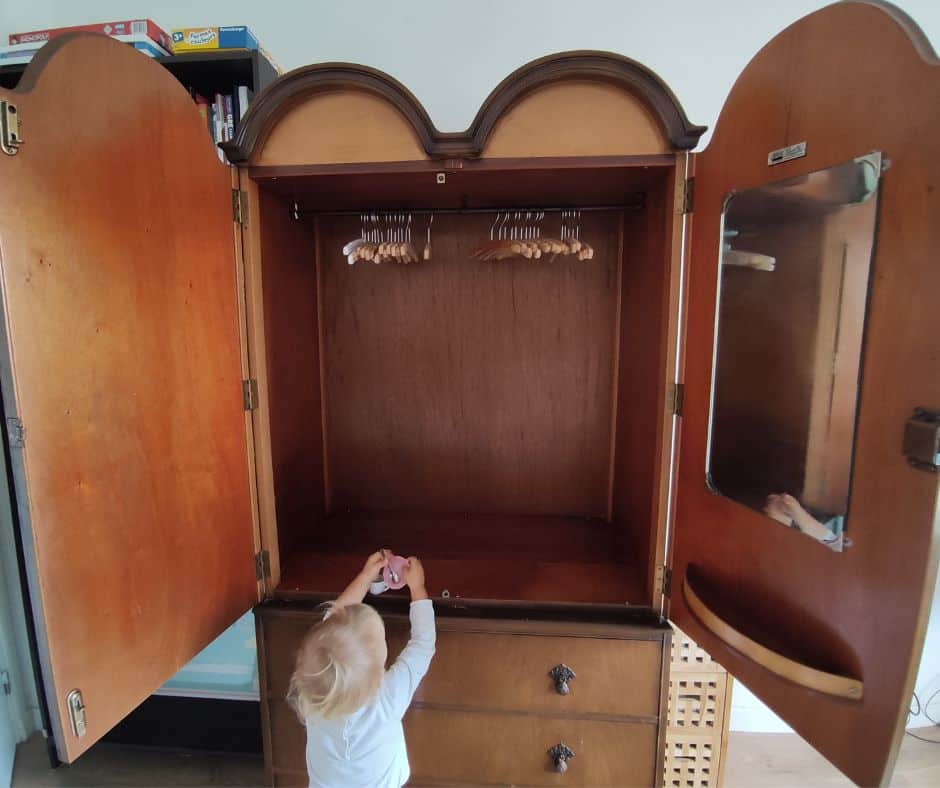
Internally it had a metal hanging rail, mirror, and small shelf to the back of one door. It had three outer long opening drawers with plenty of useful storage space. It was a lovely stylish wardrobe, in nice, fully working condition.
I liked almost everything about it, but the color. Here the great kids closet makeover started!
Planning Makeover And Getting All The DIY Tools
I planned to paint the closet white to complement the other furniture in my daughter’s room and replace the old metal handles with modern ones.
First I removed all the old handles, mirror, shelf, and rail. My daughter eagerly participated in the process.
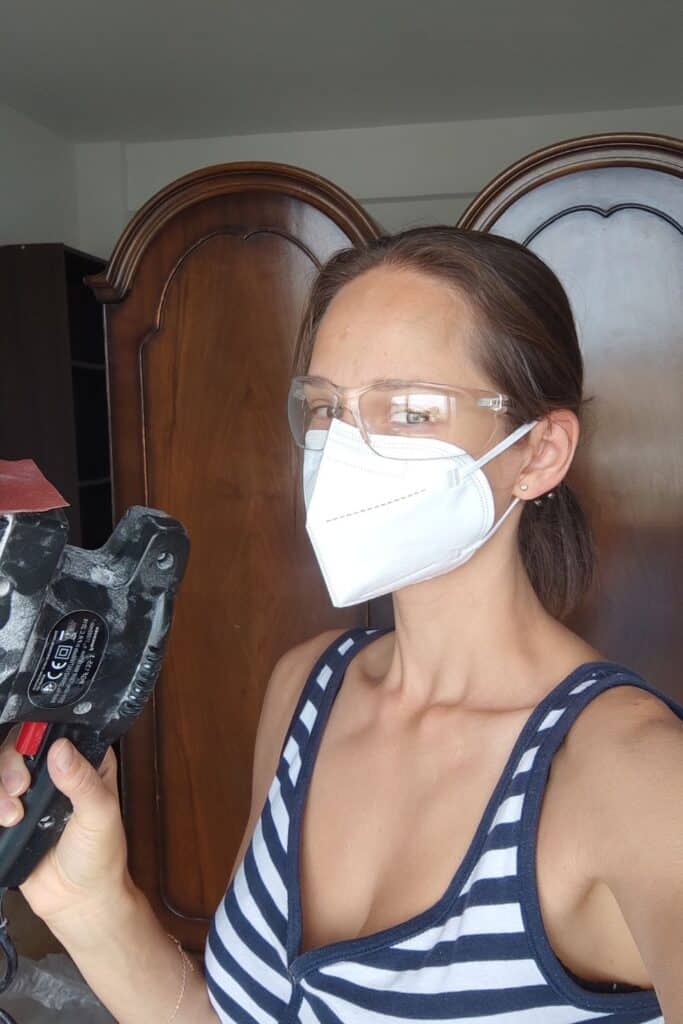
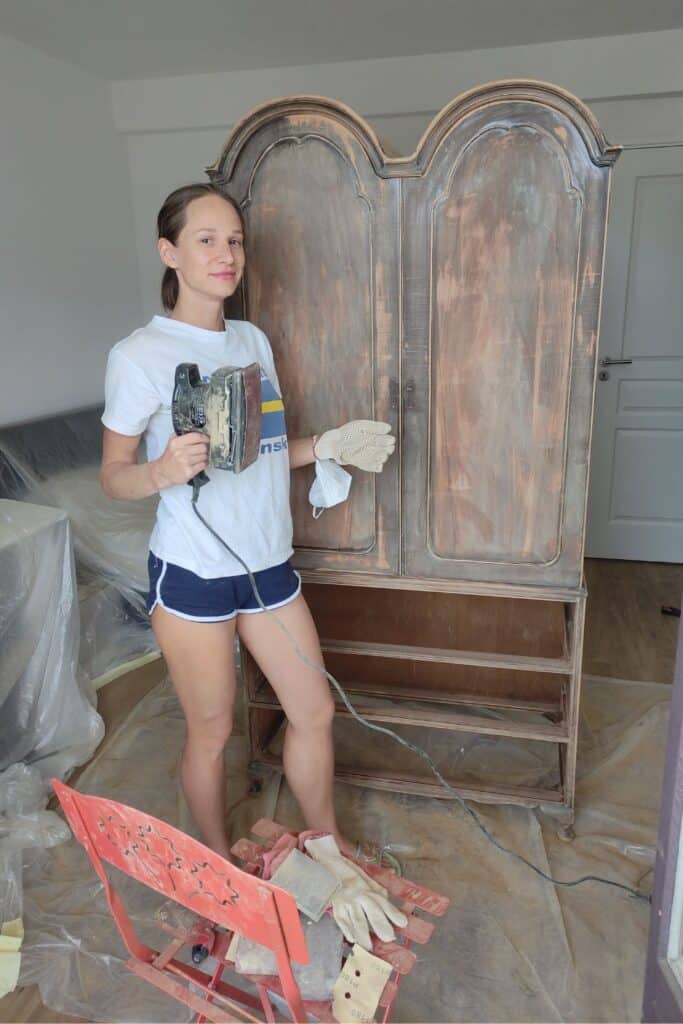
To paint this closet I had to scratch all the surfaces with a sanding machine (to make more adhesive area for the paint).
I covered the room with plastic sheets to prevent furniture from getting dust, then I started the sanding process.
I used clear safety glasses to protect my eyes from debris and gloves to protect my hands. For hard-to-reach by sander areas, I used sanding sponges.
It took me a few hours to finish the sanding process.
After sanding was done I cleaned all the surfaces in and out. Then I purchased the necessary paint, brushes, rollers, and trays and finally started painting.
Painting Process And Assembling The Wardrobe Hardware
I used rollers for wide surfaces and brushes for small corners and decorative elements. I used a mask to protect my lungs from paint fumes. And I kept the windows open to let the paint odor go away. The paint had to dry 24 hours before another coat, so I was progressing slowly but surely. Overall, painting, done during my daughter’s naps, stretched over a week.
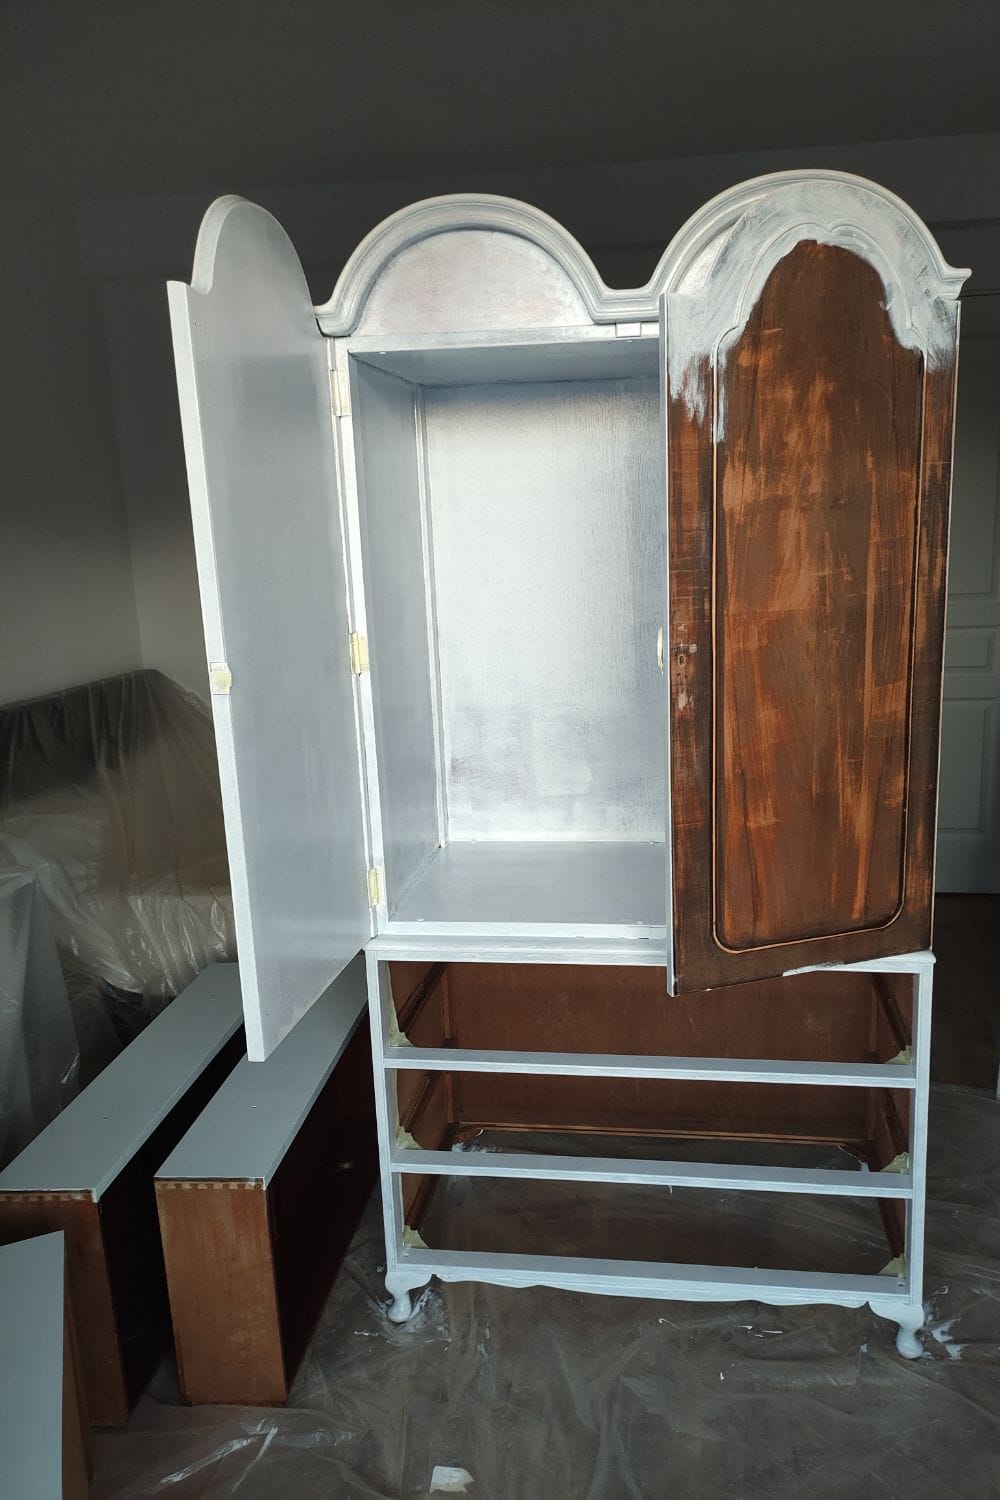

Once the painting was complete, I put back the mirror and shelf, rail, and inserted drawers. I tied up the room and we moved the closet to its new place.
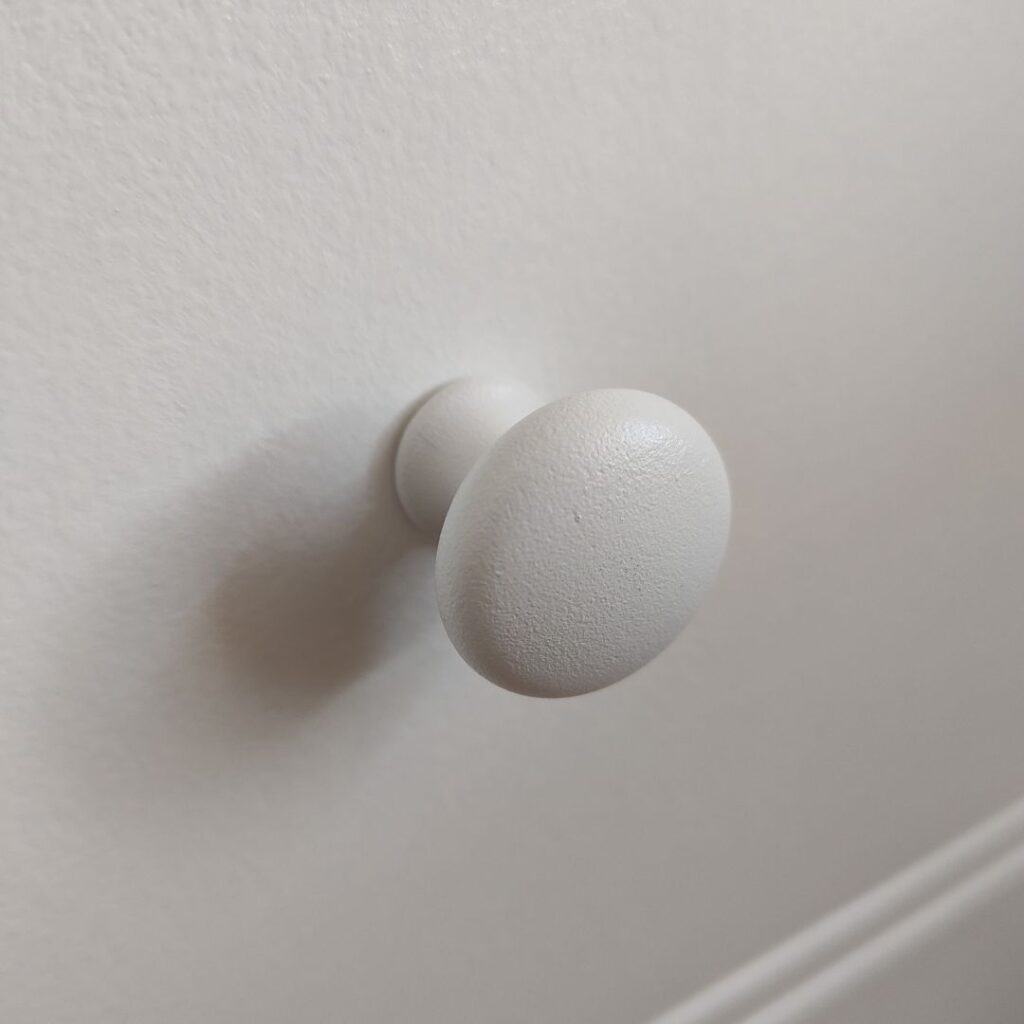
Then I selected and purchased handles. As this is something that can be easily changed, I decided to start with simple white round knobs that will not grab a lot of attention.
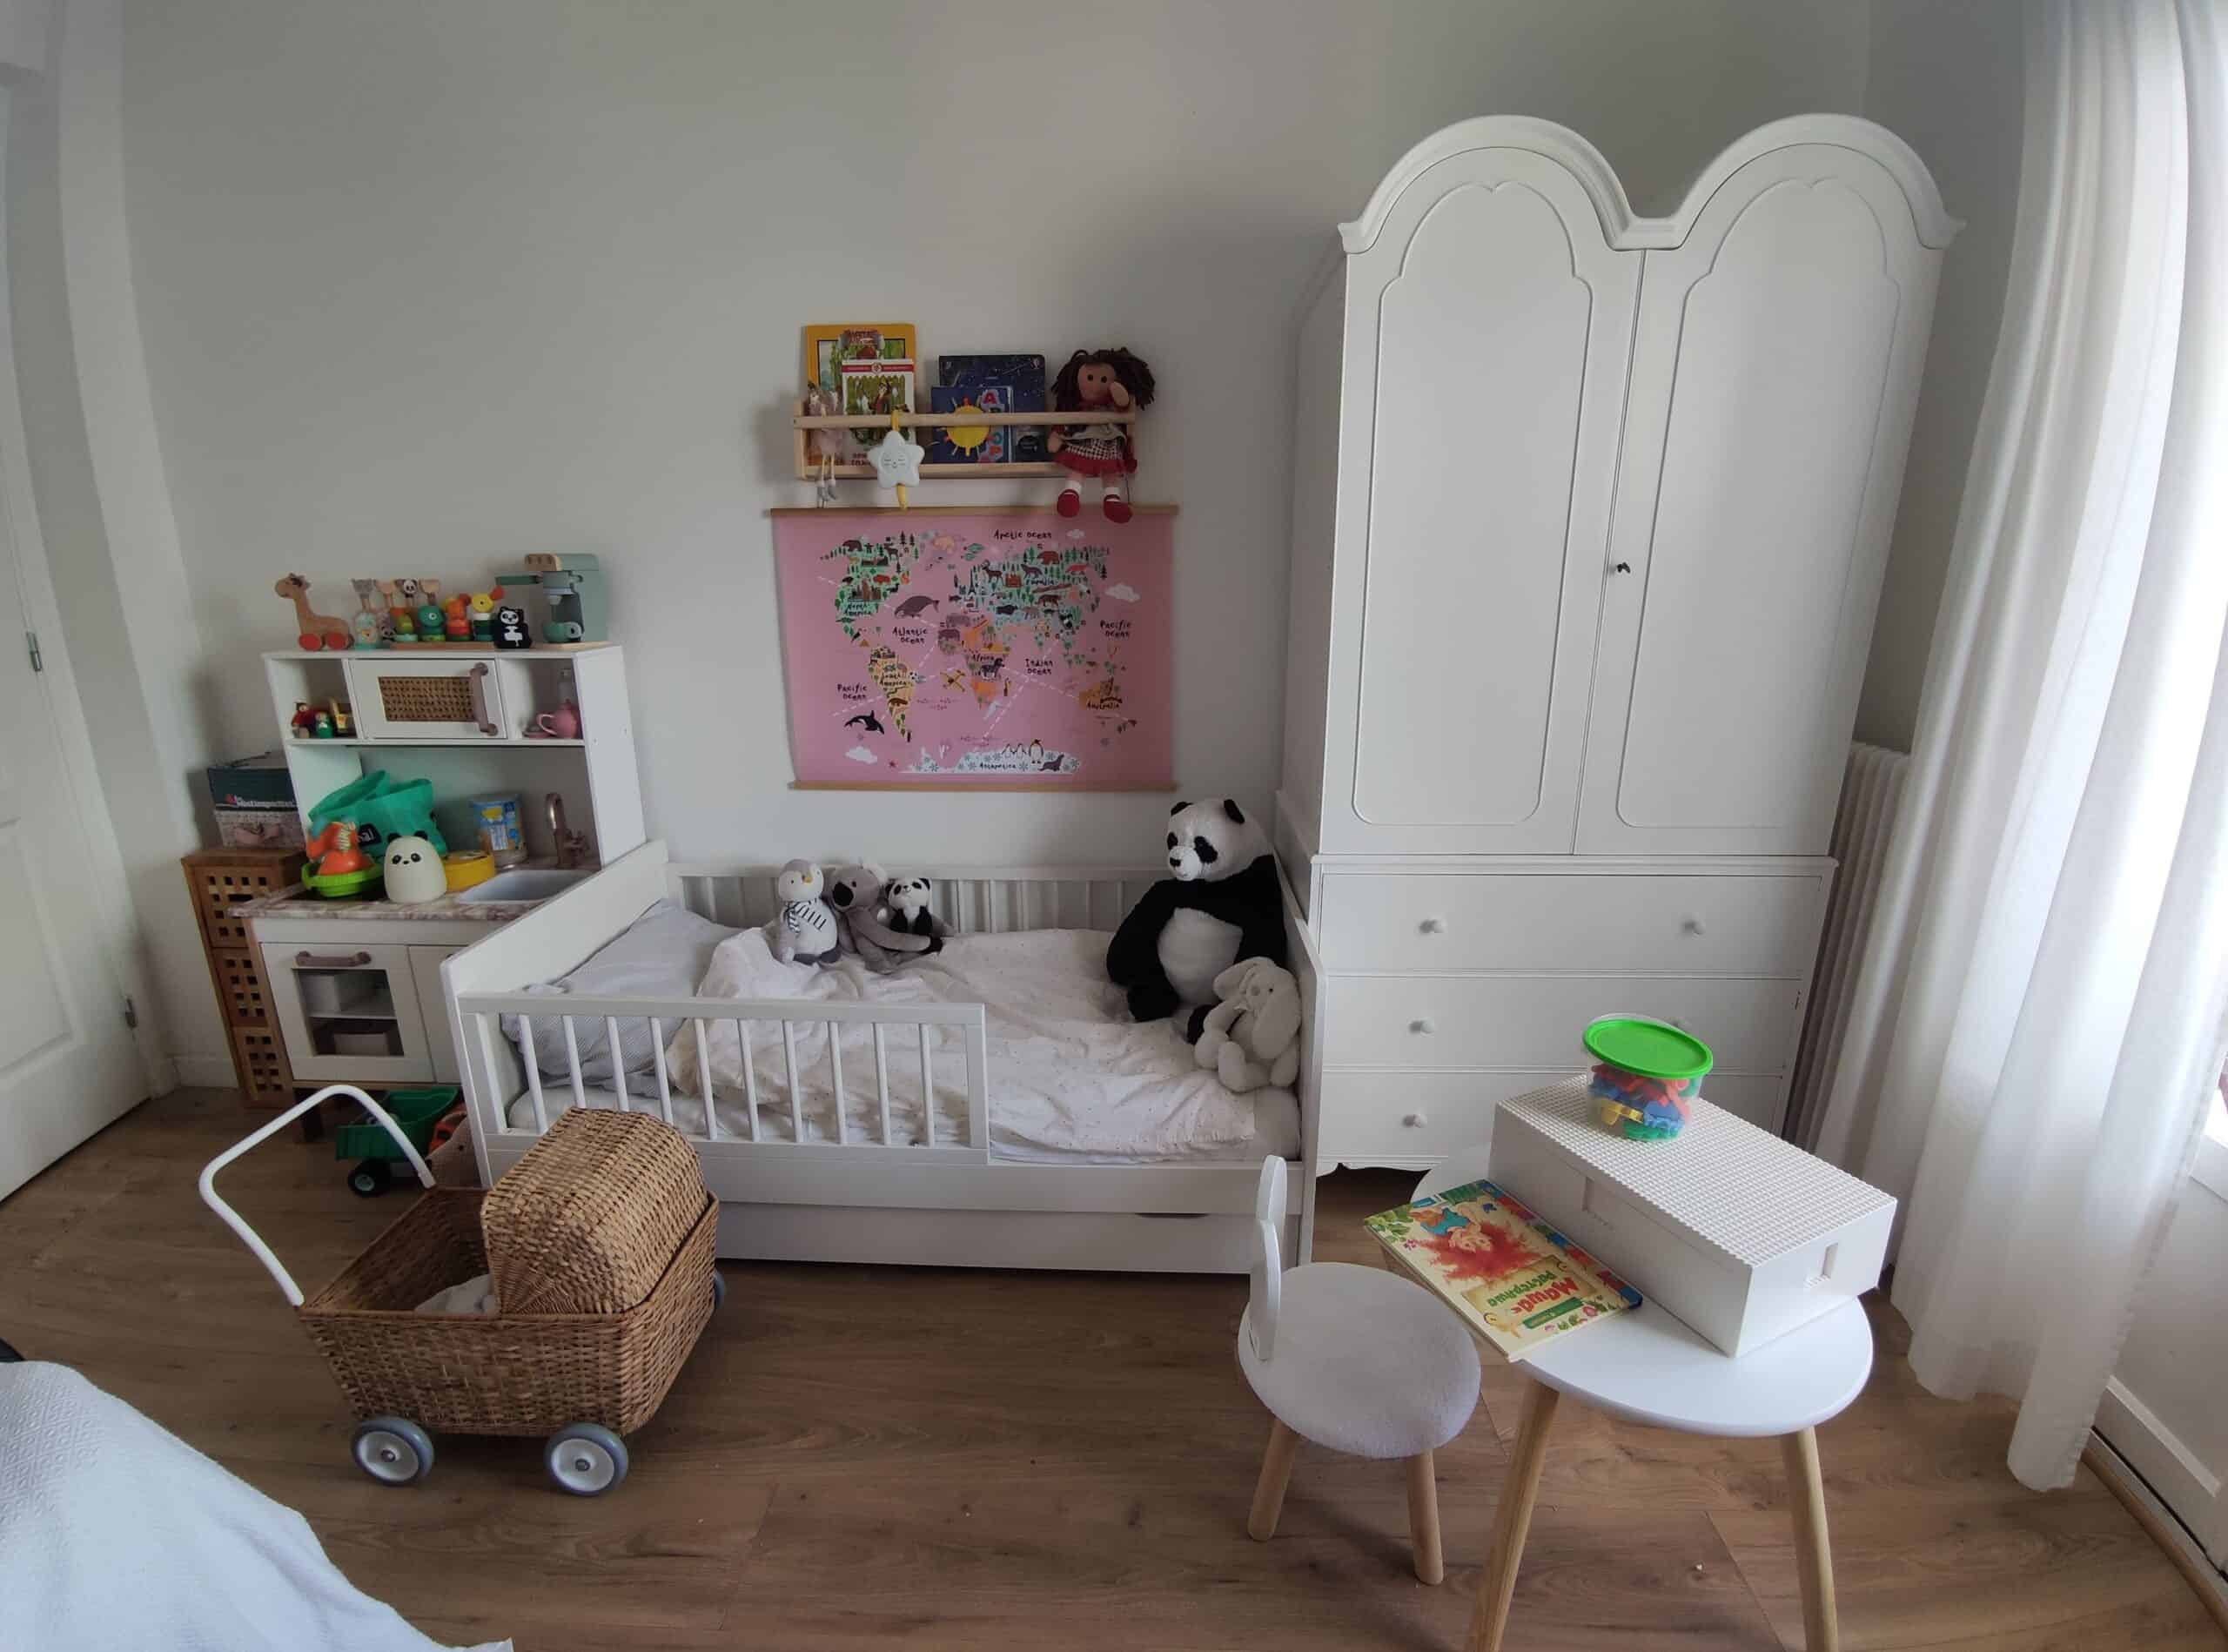
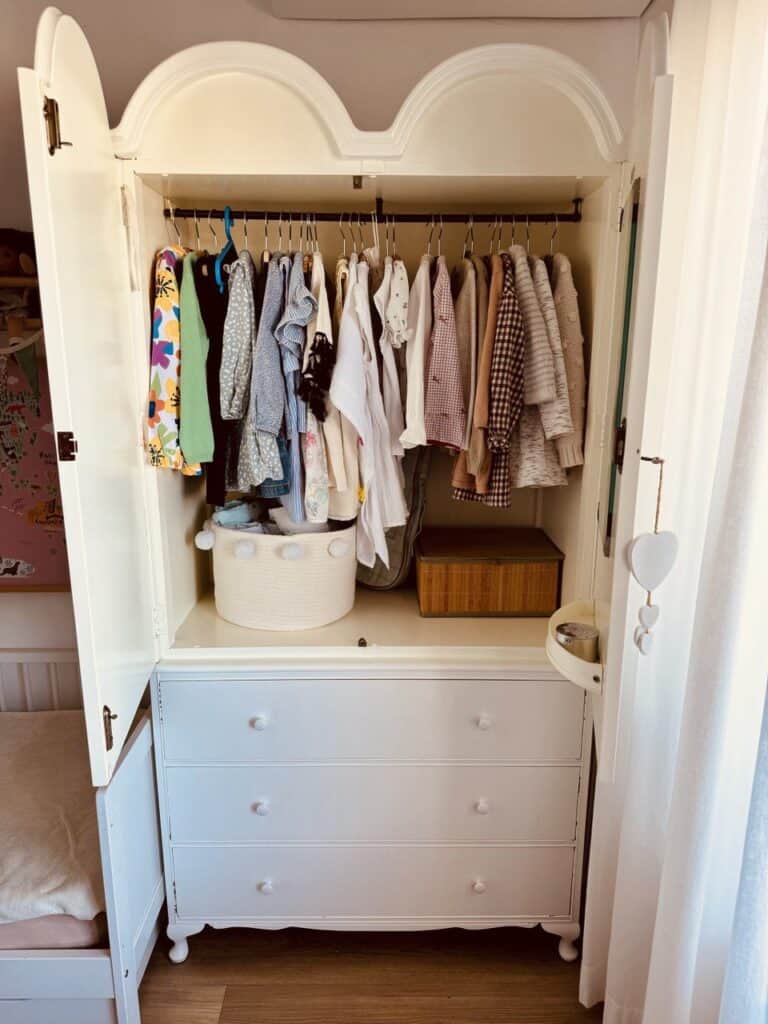
Here is the final look of our kids closet makeover!
Organizing Interior And Enjoying Results
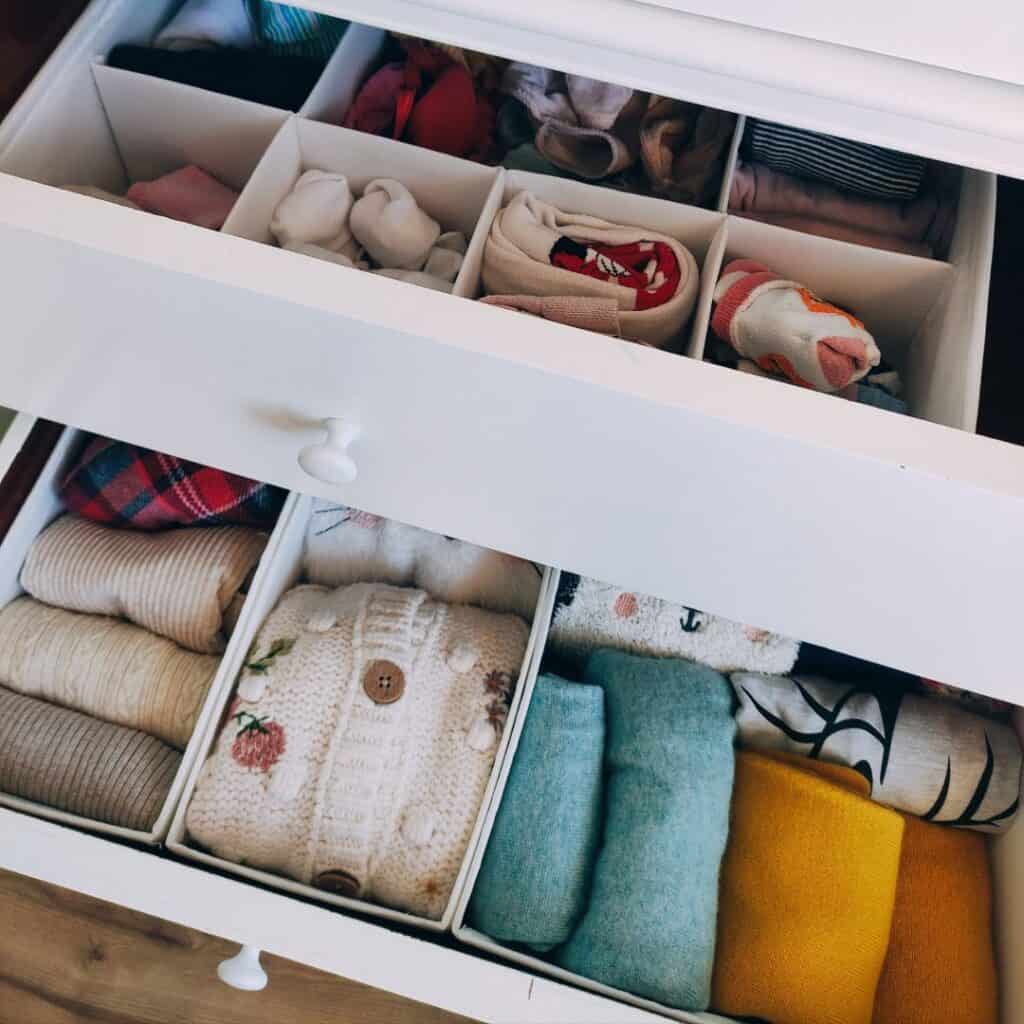
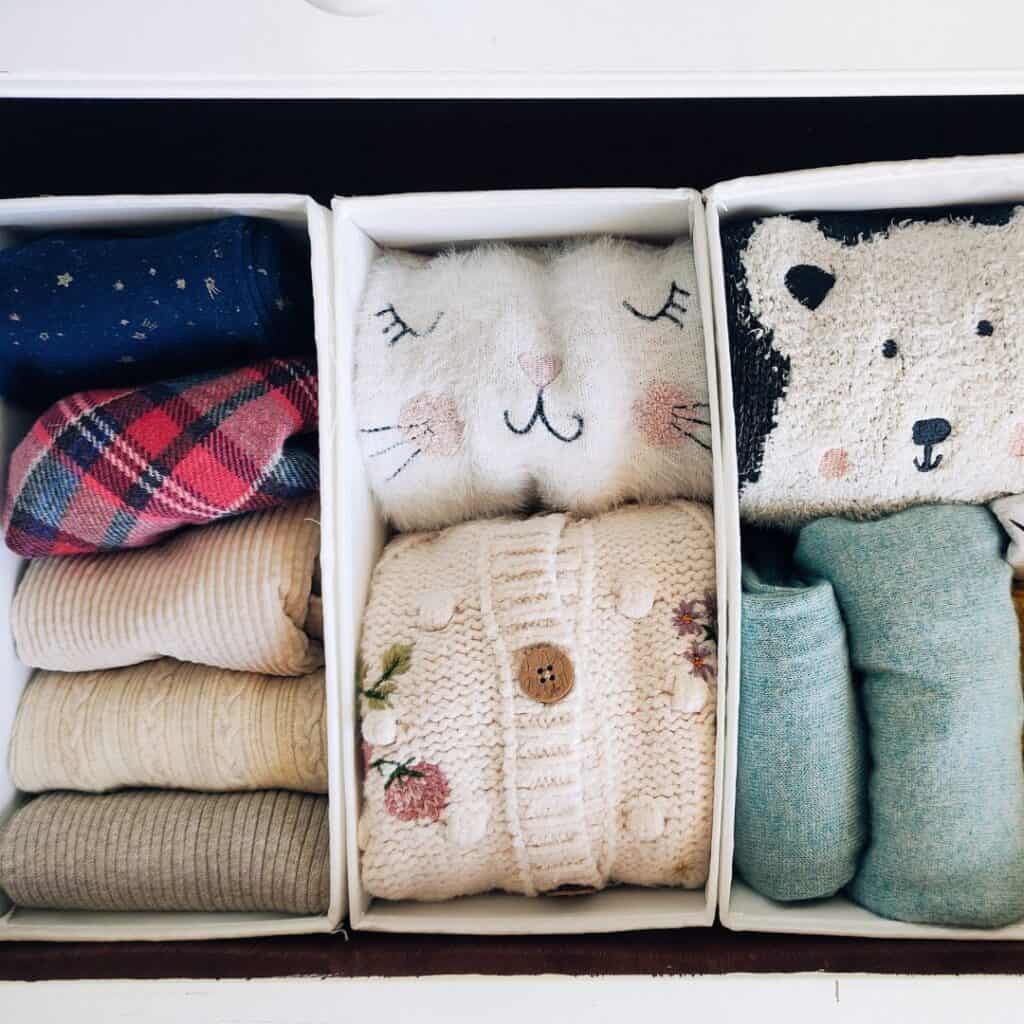
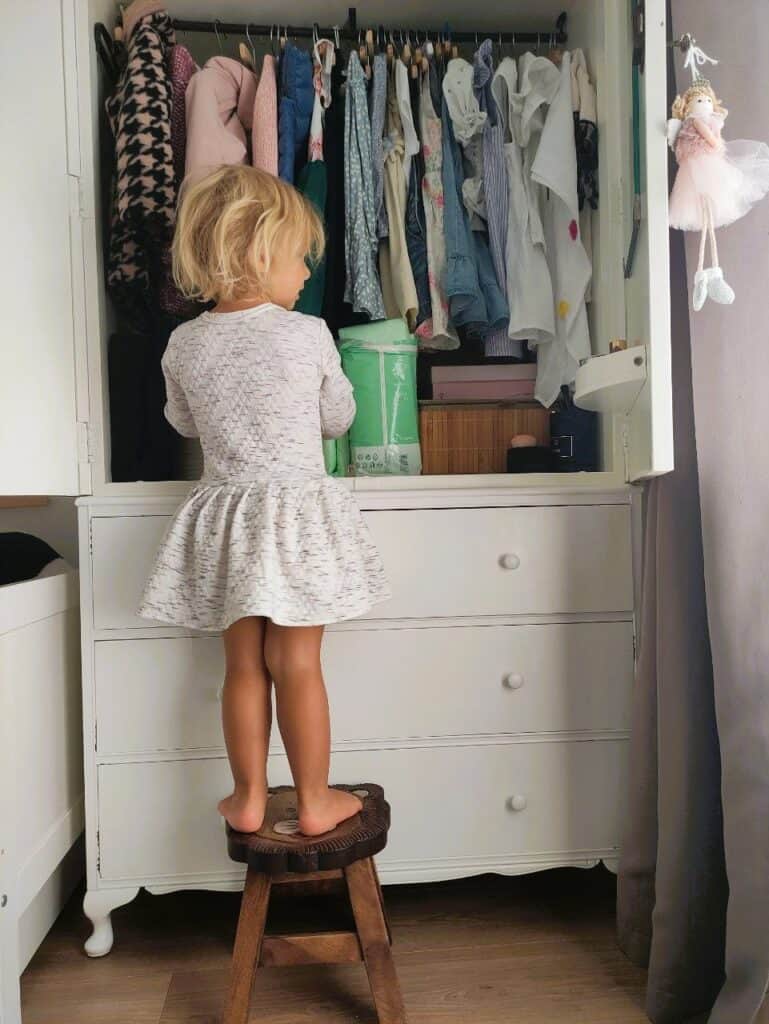
For the interior of the drawers, I purchased IKEA SKUBB and STUK organizers. Then I added hangers inside the closet and baskets for accessories.
The result is a unique, adorable closet that my daughter loves and can use independently. This DIY project not only fulfilled my vision but also added a personal touch to my daughter’s room. All my efforts were thoroughly rewarding.
Based on my experience I created for you a step-by-step guide
10 Steps to a Fabulous Closet Makeover
Kids Closet Makeover Cost Breakdown
To get you to the idea of how much a kid’s closet makeover can cost to you I have made our makeover cost breakdown:
TOTAL COST = $276.97
The total kids closet makeover cost will depend on what tools you already have at home, how much you will have to spend to buy a closet, and how many changes you want to make. For example, we got a closet for free but spent a lot on transportation.
Remember, a DIY kids closet makeover is not just about the result but also about the process and the personal touch you add to the space. You can create a unique and special piece of furniture for your child.
I hope this inspires you to pursue your craziest ideas and believe that all your efforts can be rewarded!
Subscribe to Babyhood And Beyond!
Get updates on the latest posts and more from Babyhood And Beyond straight to your inbox
Or let’s get in touch
To ask us any question, please go to contact us page.
Well done! Amazing job! I wish I was able to do something similar for my daughter, when she was small.